blog

Building a Pedal Part 2

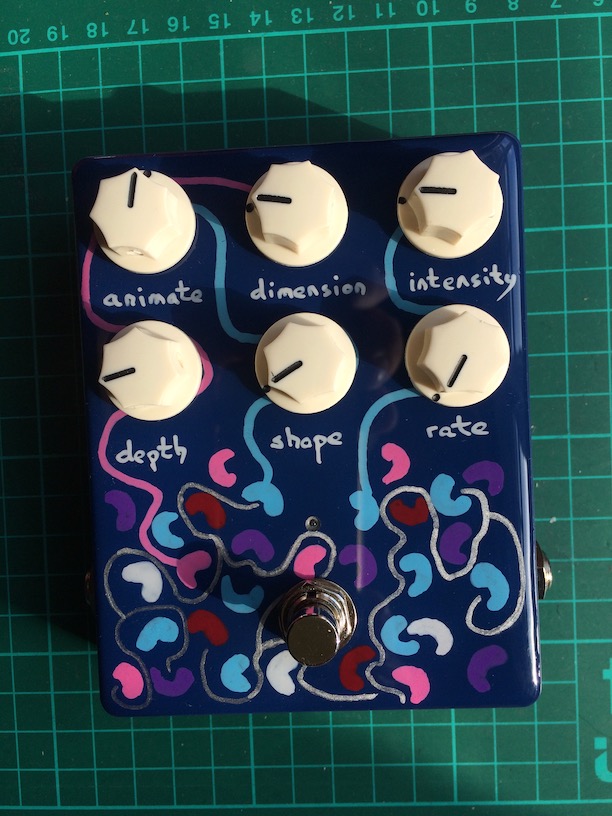
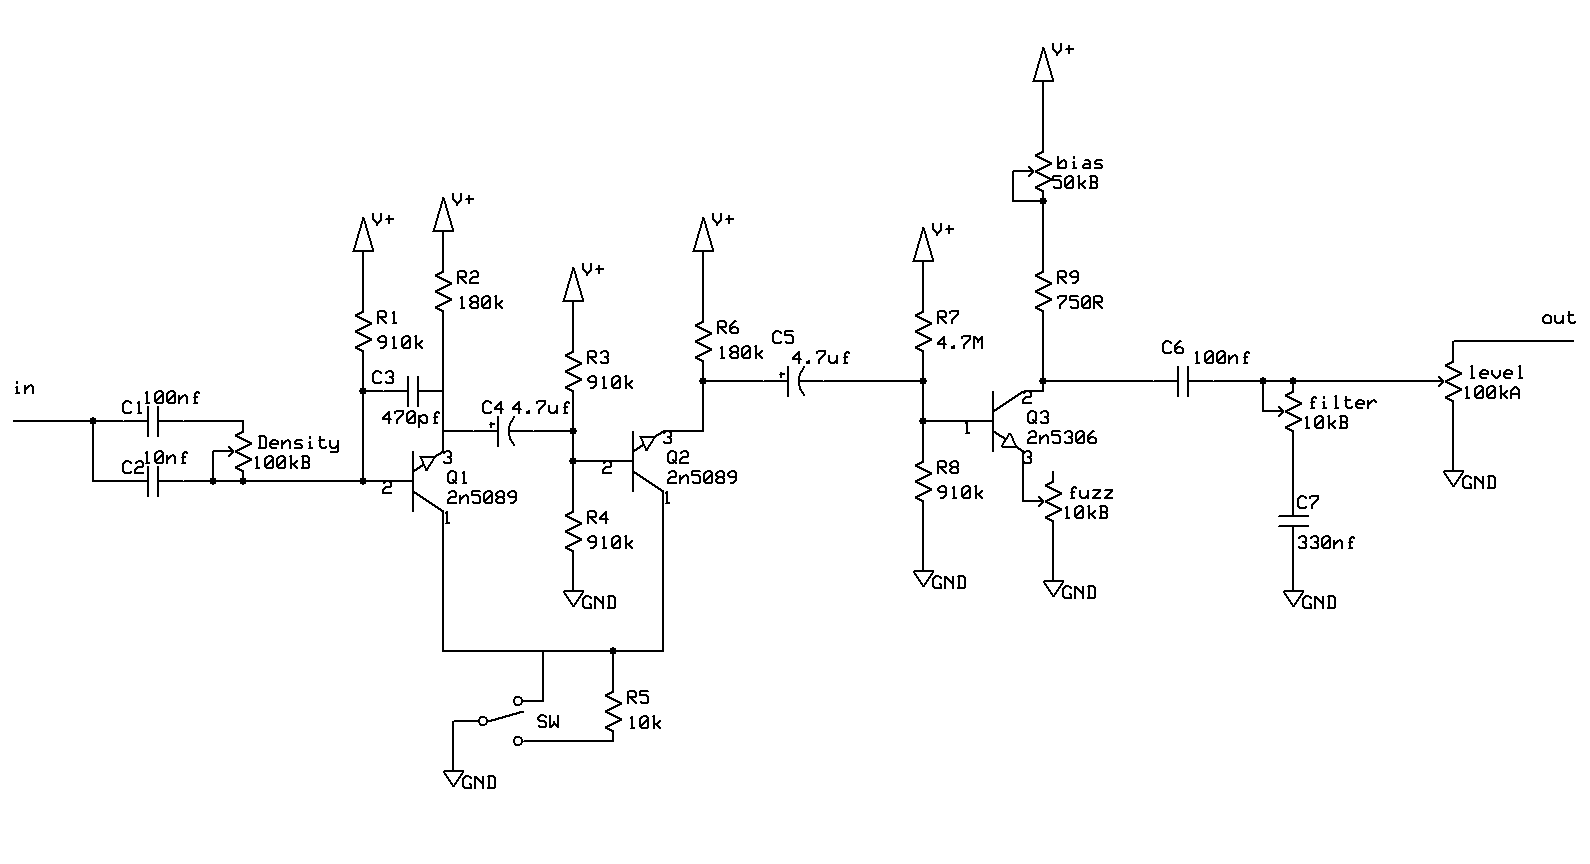
I think it’s useful to have the schematic to cross reference and see the theory behind it all. After Googling “Death By Audio Supersonic Fuzz Gun Schematic” I found this:

And I’m going to order the parts. I can get most things from:

Bitsbox – a great place for audio components
CPC – good for general purpose stuff like resistors and capacitors
RS – like CPC, good for general stuff
Tayda – a really great and cheap company in Thailand – they do a 15% discount
code about twice a month – keep a lookout on their Facebook page.

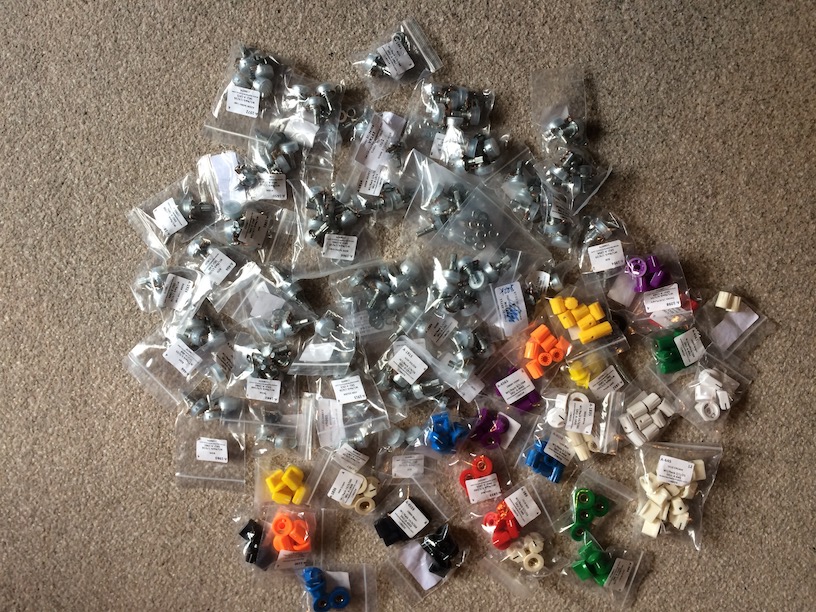
But to be honest, I’ve already stocked up on some resistors and capacitors since it’s cheaper to buy in larger quantities.

Here’s my buying guide:

The only tricky component was the 2N5306 transistor which I couldn’t find at CPC, RS, or Bitsbox, but Tayda have some so I ordered a few, at the same time as stocking up on some more enclosures and knobs.


Here’s the plan:

  • Collect the various components
  • Cut and prepare the vero board
  • Make the first connections and add some components

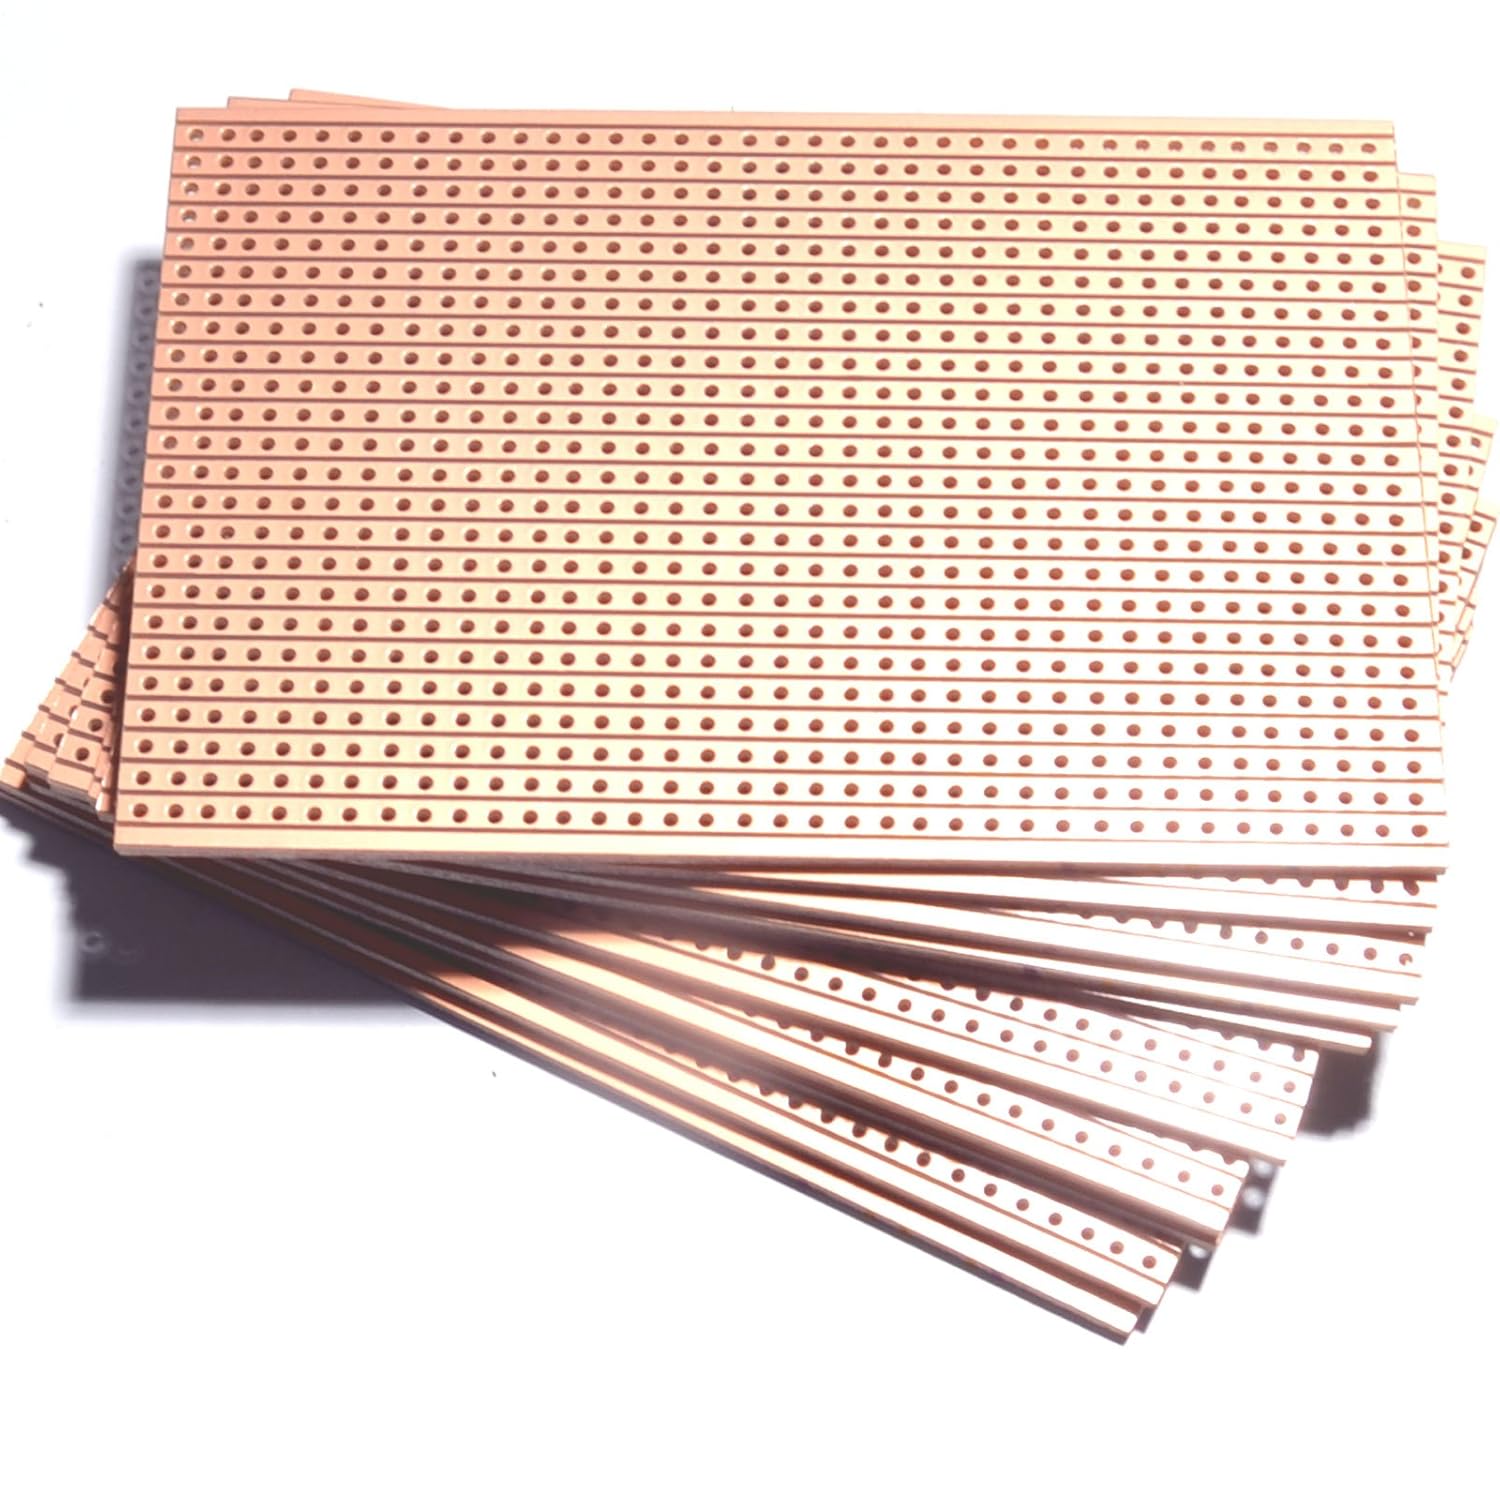
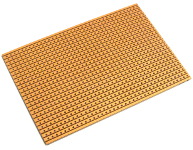
I get the vero board from Bitsbox. I buy it in packs of 5 or so and it looks like this:

You can also get it on Amazon:


Building a Pedal Part 1

Thought it might be a nice idea to spread the love and provide a blow-by-blow account of building a pedal.

The first thing to do is choose a pedal to build. You can buy kits where a PCB and all the components are supplied and you just solder them together, but, hey, where’s the challenge in that? (Well, OK, it is a kind of challenge). But let’s go back to basics, and so here’s the criteria:

  • The circuit will be built using “vero” board, or strip board
  • Components will be sourced from various electronics components suppliers
  • It’ll fit inside of a metal enclosure like the Hammond 1590B
  • It will be relatively simple

The best site for this kind of thing is Guitar FX Layouts where you can find various layouts for all kinds of pedals.

I’ve decided to go for the Death By Audio Supersonic Fuzz Gun.

Here’s a video of it in action:


Going back to the Death By Audio Supersonic Fuzz Gun website the first thing I look for is the date and the tag “verified”. This layout was published 6 years ago to the day in 2012 and it’s tagged as “verified”. This means that it’s tried and tested and so any errors and tweaks should have been ironed out by now. That’s a good start.

So what have we got?

An image of a vero layout and some comments. That’s it!

I always read through the comments to see if there are any gotchas or problems that builders have encountered. Let’s list a few of those:

  • Some discussions around what transistors to use
  • Some discussions around some minor mods
  • Some build errors

So nothing serious. OK, let’s do it!

Here’s the layout:

The first image represents the front facing view of the vero board with all of its components and connections, while the second image represents the back of the vero board but still looking at it from the front (imagine you had x-ray vision). We’ll come back to this later. For now I’ll summarise what there is in the first image:

  • A small vero board measuring 20 x 9 holes (we measure in holes not size)
  • Some components – resistors, capacitors, and transistors
  • Some off-board connections – these are the connections to the power supply (“9V”, “Ground”), a switch (“Sw1”, “Sw2”, “Sw3”), a LED (“LED+”), “Input”, and some potentiometer controls (“Density 1 & 2”, “Density 3”, “Bias 3”, etc)

The three black components are transistors and they are labelled “Q1″, Q2”, and “Q3”. In the rubric it says “Q1 and Q2 are 2N5089, Q3 is 2N5306” – this tells us the types of transistors. The other components’ values are labelled directly in the vero layout, It also says “Switch is SPDT”, but more on that later.

So….I need to make a bill of materials from this layout. I’ll do that now:

Resistors (the cyan things):

2 x 180k
4x 910k
1x 10k
1x 2K2
1x 4M7
1x 750R

Capacitors – there are three types of capacitors here: ceramic (the light brown one), electrolytic (the blue ones) and the brownish red ones. These last ones can be polyester film caps. Here’s what I need:

1x 470pF ceramic
1x 10nF polyester
2x 100nF polyester
1x 330nF polyester
2x 4.7uF electrolytic
1x 100uF electrolytic

And the transistors:

2x 2N5089
1x 2N5306

The rubric lists the potentiometers:

1x 100k linear
1x 50k linear
1x 10k linear
1x 10k logarithmic
1x 100k logarithmic

Actually, that’s 5 potentiometers, or “pots”. I’m not sure these will fit in a 1590B sized enclosure. I’ll come back to that later. Also, the difference between “linear” and “logarithmic”.

There’s also mention of a “SPDT” switch. This stands for “Single Pole, Double Throw”. What does that mean? Fuck knows. I’ll come back to that later…

StinQ

In response to the question, “Do you have any suggestions about how to use a wah-wah?” Frank Zappa said this:

The first thing you don’t do is tap your foot on it in time with the music. The two basics are to locate a notch in the pedal so it gets a mid-range sustain that is tuned properly to the amp EQ that you have, so you get a nice boxy sound out of it to make all those stinkin’ tones that teenagers really go for, and the other thing is to move it very slightly and put most of the action in the rear half of the pedal, because that’s where you get most of the speaking type sounds out of it. When you push it right down and open the filter all the way up you get that squeaky sound, and I don’t like that. I like the middle range of the pedal. Don’t tilt it all the way forward or back, just work the middle of it. It only takes a very little foot movement to change the whole sound of your guitar.


The aim of this StinQ project is to “get a nice boxy sound out of it to make all those stinkin’ tones that teenagers really go for”.


This is based on the Dunlop Q Zone, a cocked wah effect.


The artwork is way better, as it was printed onto sticky photo paper and sealed with Envirotex Lite.

Katzencüstard Pedal

This is a clone of a Catalinbread Katzenkönig.I call this the KatzenCüstard.

Decided to use up my orange Hammond 1590B and Posca Pen on Cüstard the cat. Who is this cat? It’s Custard from Roobarb and Custard.

I fancied a new fuzz/distortion pedal, so the Katzenkönig is a nice choice:

We combined the best elements of a Tone Bender MkII fuzz with a Rat distortion to create something that sings like a fuzz but is tight like a distortion. It loves humbuckers and single coils. It loves your cranked amp and your super-clean amp.

Katzenkönig was tuned to offer a huge range of response – from a really beautiful singing tone, to tight, harmonically-rich crunch, all the way to fuzz mayhem.


Once again I used Envirotex Lite Epoxy resin. But…you can see a small bubble in the epoxy Envirotex coating just to the right of the eyes. This bloody bubble appeared out of nowhere about 6 hours after pouring the resin, just as it was almost set so I couldn’t burst it with a lighter. Ho hum.

I always test a new circuit first before boxing it, and this entails connecting all the wires to a breadboard that I have set up with input/output jacks and trimpots for the controls. Then if it doesn’t work I can simply work on the circuit board. This pedal was buzzing like a buzzy thing when I first tested it and I spent several hours double-checking and swapping out some components. It turned out that it needed a grounded shield around the circuit and the input wire, so once it was in the box it was fine.


Oh, and I bought some more pots and knobs. Just in case:

Gravity Wave

Another pedal. An ambitious one, with a fairly large vero board.

This is a clone of a Madbean Gravity Wave which is a clone of an Earthquaker Devices Sea Machine.

And this is the first time that I’ve used Envirotex Lite Epoxy resin as a final coat on the enclosure. Scary stuff. You have to get the mixture just right, and eliminate bubbles with a flame. Still, it’s better than the clear coat spray.


A couple of issues with it – the LFO rate was too fast so had to replace a cap with a higher value; my offboard wires were too short in some cases and so had to do them again (and again when I soldered the in the wrong holes). Good job I stocked up on desoldering wick!

Begin typing your search term above and press enter to search. Press ESC to cancel.