I poured the Envirotex Lite 4 days ago on Sunday, and after about 12 hours I knew that I hadn’t messed it up with the wrong proportions because it was hardening nicely (oo-er, missus!). It’s best to give it a few days to fully harden (oo-er miss….oh never mind…).
Now it’s time to drill out the ET from the holes.
The Finishing Tutorial by JuanSoloFX has a top tip before drilling:
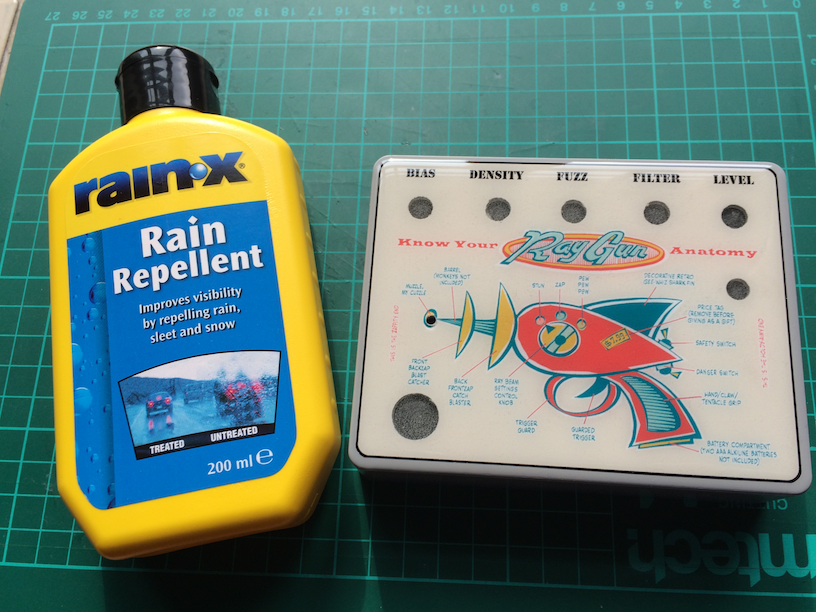
“When the Envirotex has cured, before you drill, apply some Rain-X (automotive stuff used on windscreens and motorbike visors). It fills in all the pores and no ‘tex dust gets in there. It remains smooth and shiny. WIN!”
I got some from Halfords. Smells very chemically so I guess it’s not good for your health.
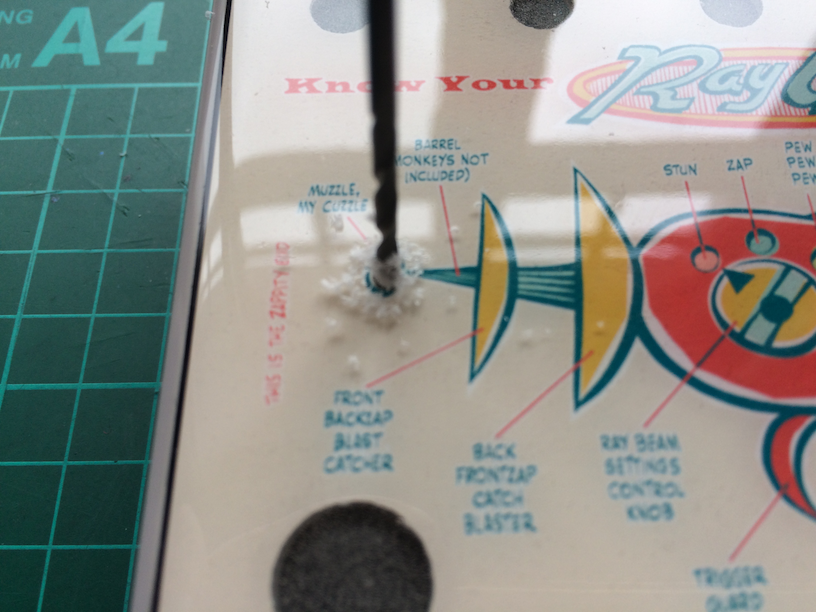
Then the first thing I do is manually drill out the 3mm hole for the LED. I know that some pedal builders leave this covered with ET, but I like the LED to poke through the hole. As I don’t have a drill stand, and the chances of me hitting the exact spot while holding the drill are slim, I do this with a 2mm drill bit and use my fingers to twiddle the drill bit to make the hole, and then move on to a 3mm drill bit. Takes a while, but it’s worth getting it right. If you have a drill stand you probably don’t need to do this.
TOP TIP – drill and apply pressure from the face of the enclosure! If you work and push from the back/inside of the enclosure you’ll put pressure on the decal and ET and it’s likely to lift away leaving a nasty raised area. Push down onto the ET!
Now I use the stepper drill bit to drill out the larger holes.
Another top tip when using a stepper drill bit – the hole for the stomp switch is 12mm, which is the last step on my drill bit. This drill step is close to the chuck of the drill and there’s a danger that the rotating chuck will touch the ET as you advance the drill. I did this on my last pedal, so be careful!
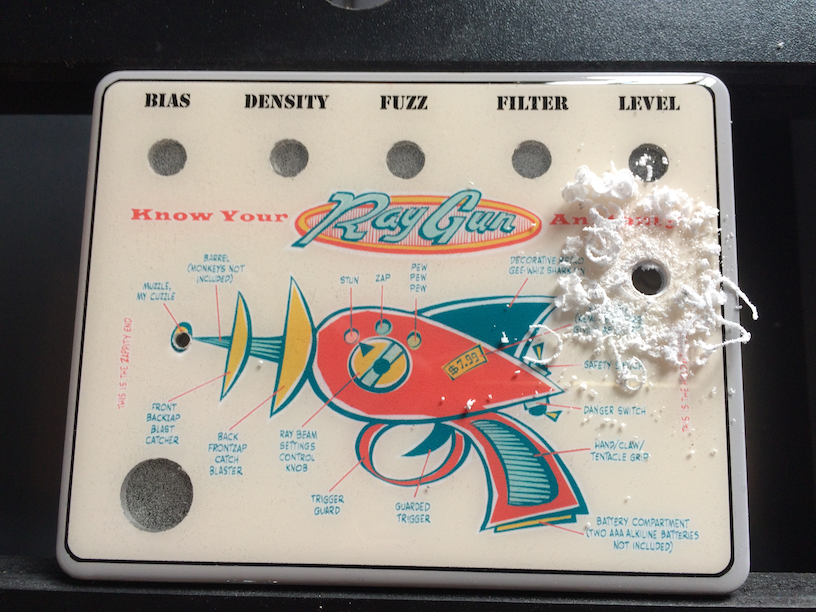
The drilled ET is like grated Parmesan cheese:
The holes are all drilled, and the Parmesan ET cleared away.
Now the hardware is collected ready to (finally!) put the pedal together:


