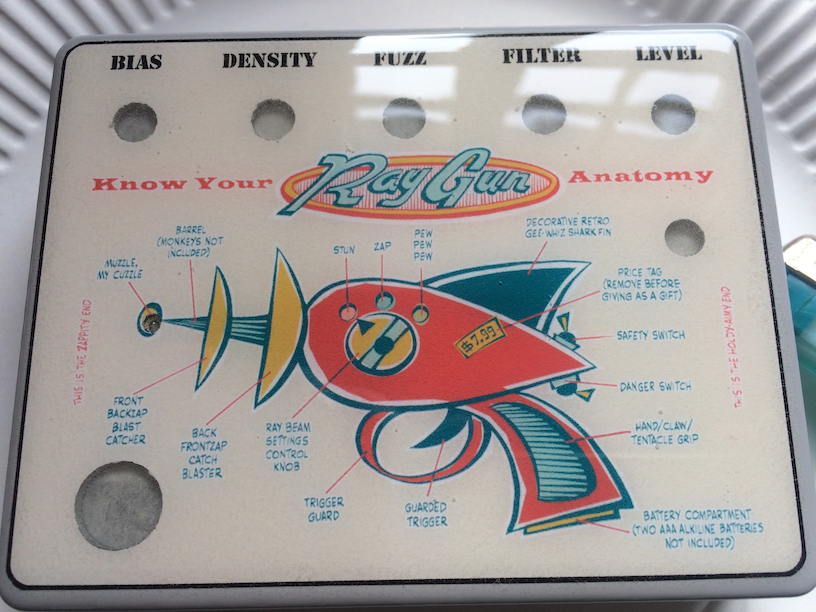
Today I’ll pour the Envirotex on top of the enclosure. I always find this part a bit nerve-wracking as it requires so much baby-sitting and I’ve messed it up before now.
The best guide for this part of the process is the Finishing Tutorial by JuanSoloFX.
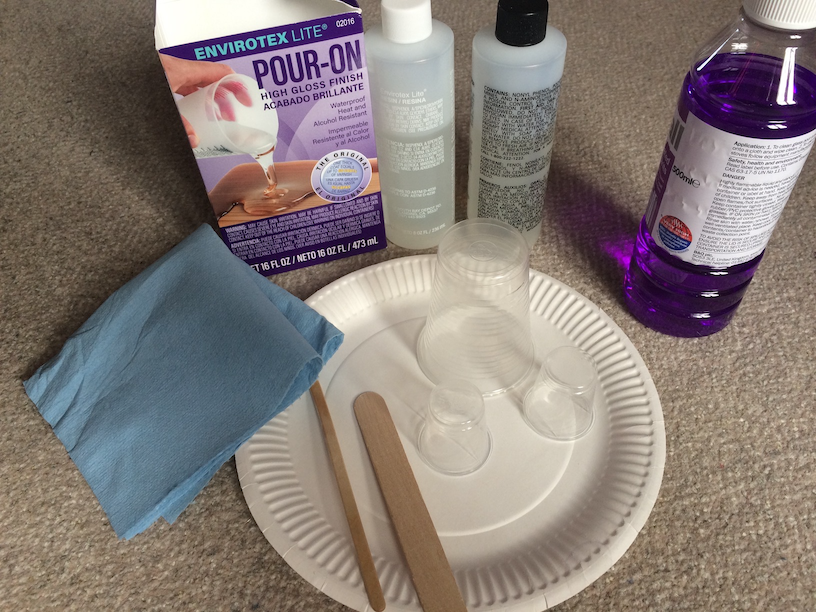
Here are all the bits and pieces that I’ll need:
Envirotex Lite – I get this from Amazon. It is shipped from the US but when I ordered mine it only took about 4 days to arrive.
Methylated Spirits – Got this from B&Q. Very handy on a cloth to clear up any drips and spills.
Mixing cup – Any plastic cup will do. But not too big or small.
Small 30ml measuring cups – You can get these on eBay or Amazon. They have markings on them which are vital to measure out the two parts of the Envirotex (hardener and resin).
Paper Plate – Handy to put the enclosure on. You can turn it around when working.
Paper towel – get these fairly lint-free ones from Halfords.
Lollipop Sticks – one big one for mixing and one thinner one for dobbing. Get them from Amazon or eBay.
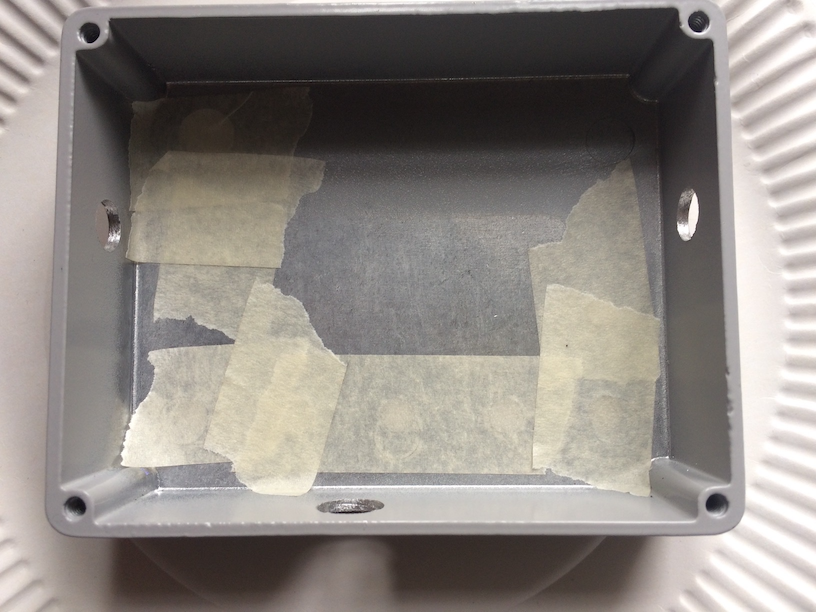
First thing to do is to tape up the inside of the holes in the top of the enclosure. This obviously stops the resin from escaping down the plug-hole:
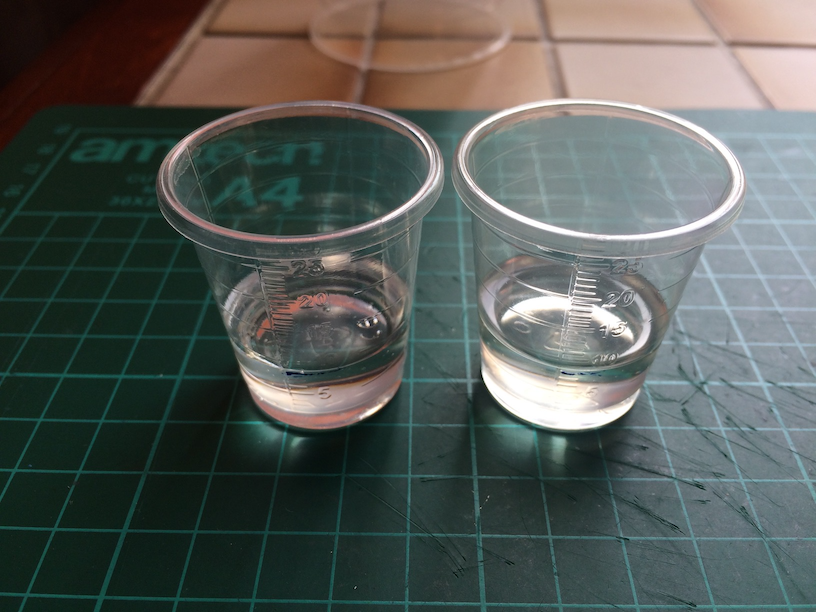
Then I’ll measure out exactly equal quantities of the Envirotex resin and hardener. I’ve marked some lines with a pen on the measuring cups at the 8ml marks. A total of 16ml should be enough to cover a 1590BB.
It’s very very important to measure out exactly equal amounts and to not use too little of the stuff. The smaller the quantities involved the more room for error there is in getting exactly equal amounts. I once made the mistake of using plastic teaspoons to measure and I must have got the proportions wrong as it never hardened, and I had to scrape it off and start all over again. Better to err on the side of more rather than less.
I use the large wooden stick to mix the two parts together in the larger plastic cup. This needs to be done for at least two minutes. Make sure you don’t leave any unmixed parts that might have dripped down the inside of the cup.
Then I gently pour the goo onto the top of the enclosure. I fill the holes first, then I work from the centre outwards pushing the goo to the edges of the enclosure with my wooden dobber. Don’t worry about the bubbles in the mix at this stage, just focus on spreading it to the edges and aiming for a consistent coverage. Envirotex is self-levelling so this will help.
Also, at this stage, take your time and focus. The instructions for ET make it sound as if you’ve got very little time to work with this stuff, but you’ve easily got up to an hour to manipulate it.
To get rid of the bubbles, gently breathe on the surface (bubbles hate carbon dioxide). Or run a lighter flame over the top.
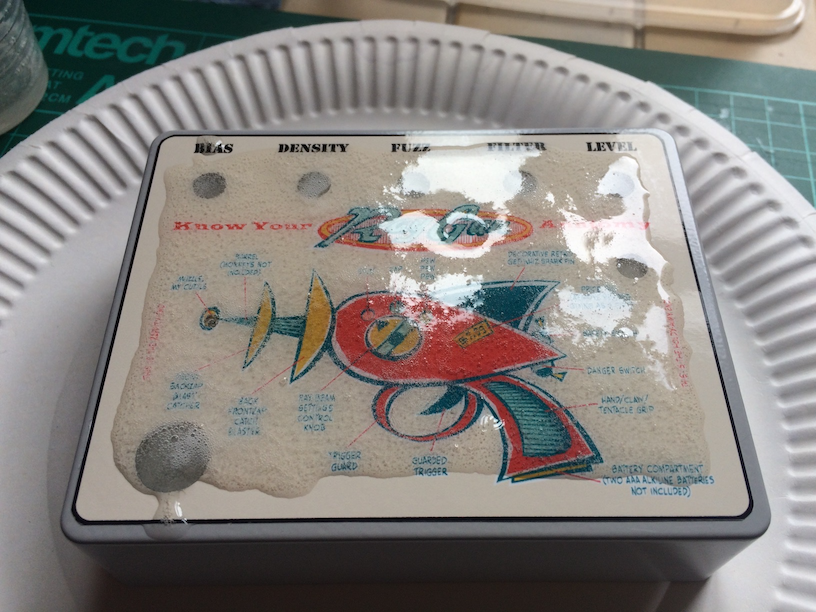
Here it is covered with the Envirotex and and all the bubbles removed (for now, at least):
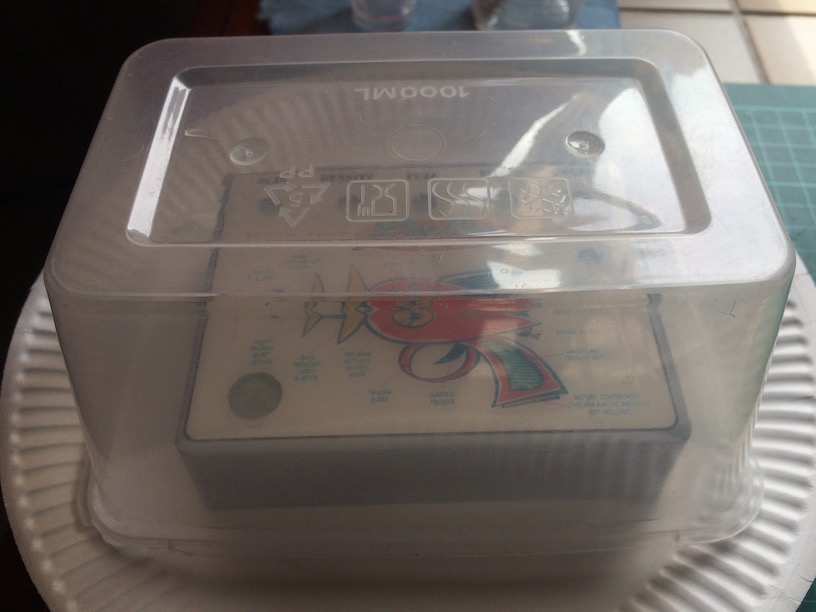
Then I put a plastic food container over the whole thing to protect it from dust:
But the job doesn’t stop now. Envirotex has a nasty habit of still producing small bubbles even after a few hours. So every 20 minutes or so I inspect the surface and, if any bubbles appear, I zap them with the flame of a lighter. I’ll babysit this now for the next 4-5 hours or so. Boring!
Unfortunately, the more you uncover the thing and expose the ET, the more chance there is of getting dust and fluff particles on it. I still haven’t solved this problem, as I don’t live in a dust-free zone. As I typed this I just removed a small fluff with a pair of tweezers. Grrr….
Once I’m sure that the ET is going off and hardening I’ll have to leave it alone for 4-5 days before I can drill out the holes and move onto the next stage.

