
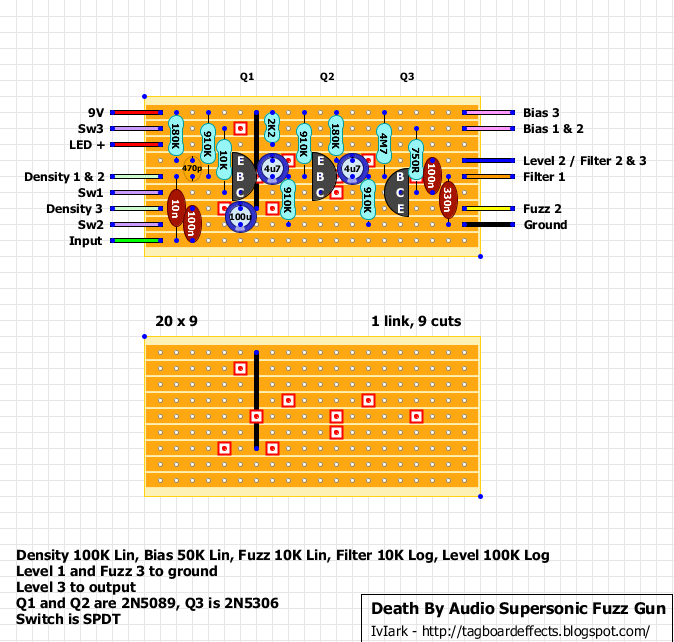
Now to solder the connecting wires to the vero board. These wires will connect to the power supply, input and output jacks, the stomp switch, and the potentiometers (pots).
I need to refer to the vero layout so I’ll post it here again:
Wire
There are 14 wires to cut and solder to the board.
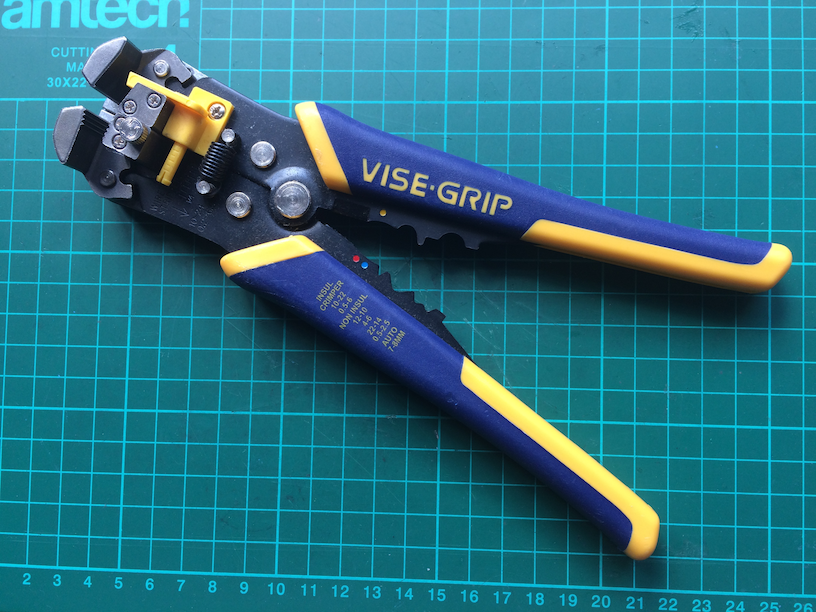
These layouts tend to stick to a colour scheme of red for 9V+, black for ground, green for input, and blue for output. Then various colours are used to connect to the pots and switches (if any). You don’t have to slavishly use the colour scheme but it helps to be consistent. For example, “Density 1 & 2” and “Density 3” look like some sort of light green wire, which I don’t have, so I’m going to use white wire for those.
In my first pedal builds I used single-core 0.6mm wire (I think this is 22AWG in American gauge) for these connections. You can get this from Bitsbox here or from other suppliers in bulk.
The nice thing about single-core wire is that it’s quite rigid and you can bend it inside the enclosure so it’s all neatly tucked away. However, as I found out the hard way, it’s also prone to break if you flex it at all. When I was manipulating the wires and routing them inside the enclosure some of the wires snapped off the board and I had to resolder them.
So now I use 7/0.2mm multi-stranded wire which you can also get from Bitsbox here or, as I prefer, in multipacks from Rapid here
“7/0.2mm” means that the wire consists of 7 strands of 0.2mm each. These strands ensure that you can bend and flex this stuff all day long and it won’t break. Having said that, I do still use single-core wire for the connections in the enclosure between the jack sockets, the DC socket, and the stomp switch. More on that later.
Cutters
I need to cut 14 shortish lengths of coloured mult-strand wire and strip a few mm off each end. I used to use a scalpel and my teeth to do this until I got fed up with that and bought myself some of these:
These strippers work really well and save me a lot of time. They’re a bit pricey, but good quality. Amazon have them here though you might find them cheaper elsewhere.
Stripping, Tinning, and Soldering
Here are the wires, cut and stripped (well, some of them are stripped. I was a bit premature when taking this pic):
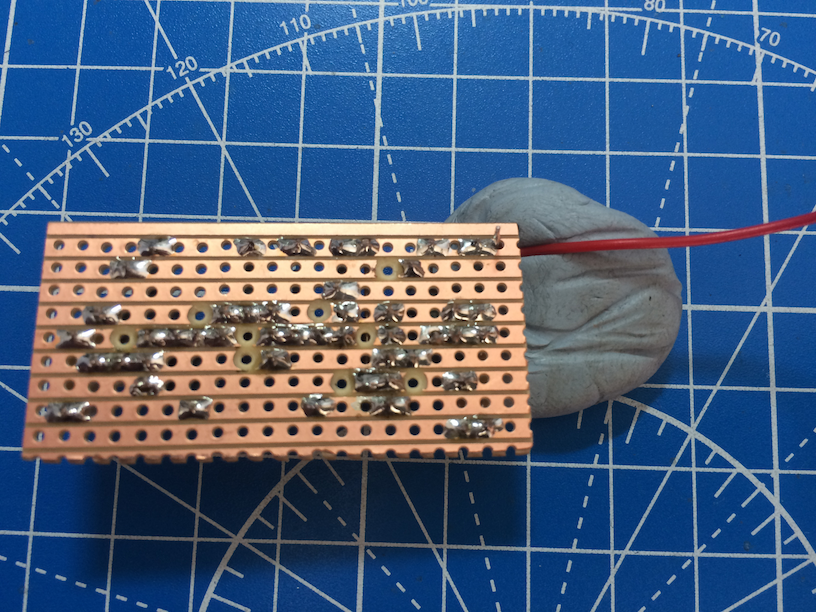
Now I’ll “tin” the ends of the wires with solder so that it will be easier to solder them to the board and to the various pots and switches. Luckily, Barry the Blob of Blu-tack is on hand to help out:

Then I solder each wire to the board, with Barry’s assistance:
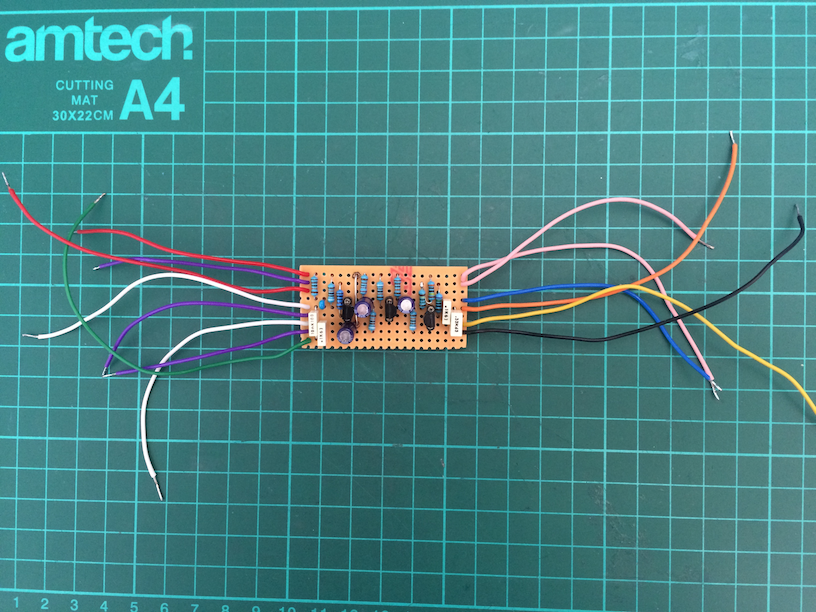
And here they are, all soldered to the board:
Now all I need do is connect everything up in the enclosure and we’re good to go, right? Well, I could do that but if there’s something wrong like a faulty component or bad solder joint then it’ll be hard to find. I have a breadboard that I use as a kind of testing bed harness thing, and I’ll connect the vero’s wires to that for testing before soldering everything up. But before I do that I do want to solder one of the hardware items to three of the wires. This will make things a bit easier, as we’ll see later.
SPDT Switch
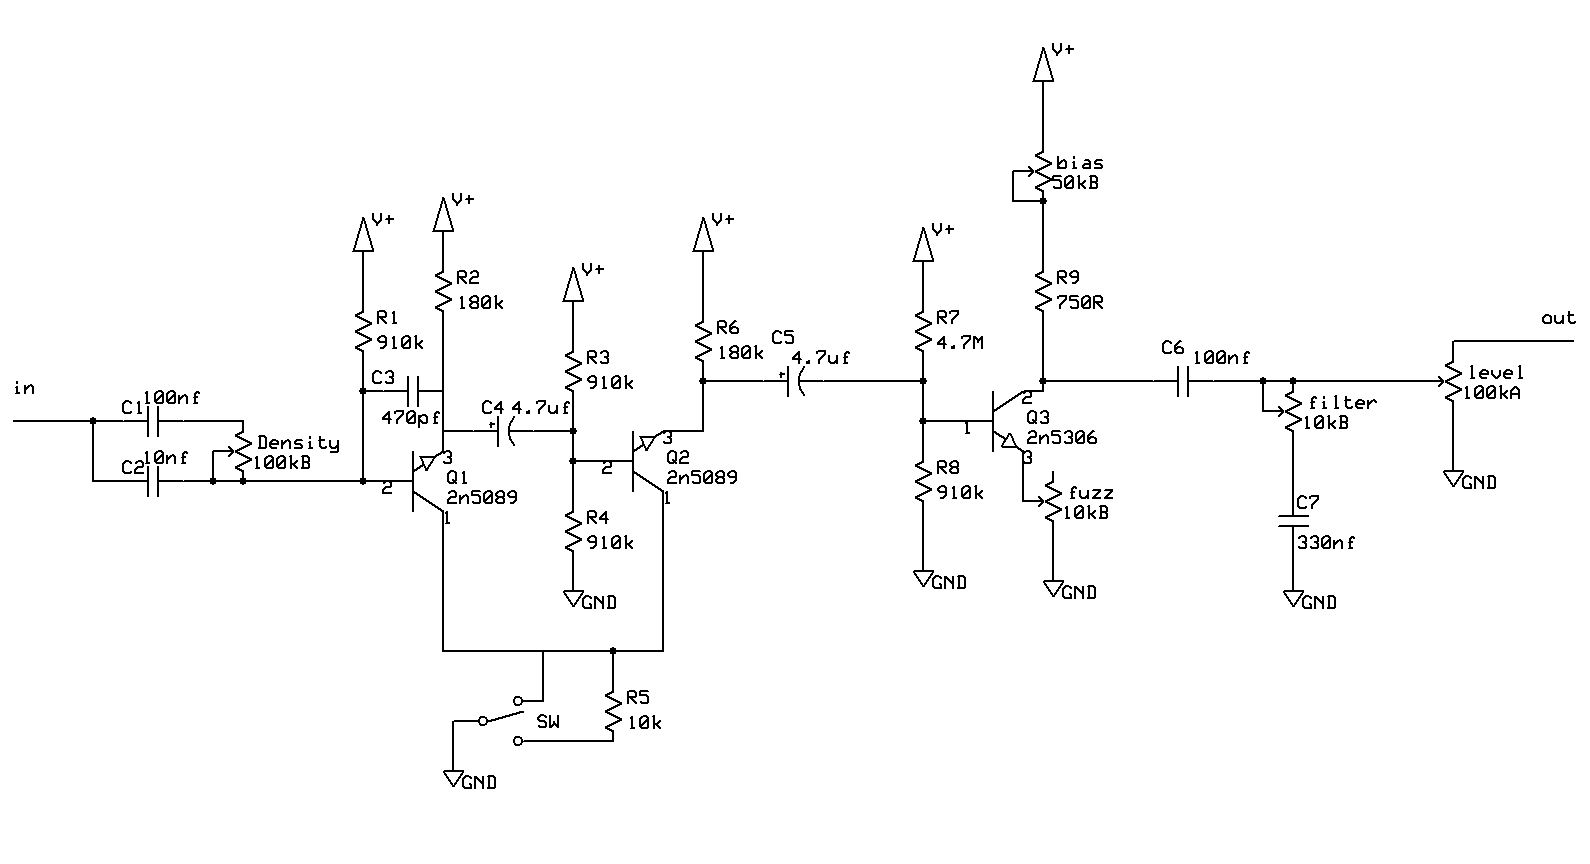
According to the layout diagram, the three purple wires should be connected to “Sw1”, “Sw2” and “Sw3”. This refers to the “SPDT” switch mentioned in the layout’s rubric. This stands for “Single Pole, Double Throw” which basically means that a single row of connections are connected in two positions. In one position, Sw1 and Sw2 will be connected, and in the other position, Sw2 and Sw3 will be connected. You can see this at the bottom of the schematic where the middle position connects to ground:
This switch needs to be of the mini toggle “On-On” variety.
You can also get “On-Off-On” types. These have a third, middle, position where none of the switch’s terminals are connected. But for this circuit we don’t need that.
Tayda do good prices on these mini toggles here.
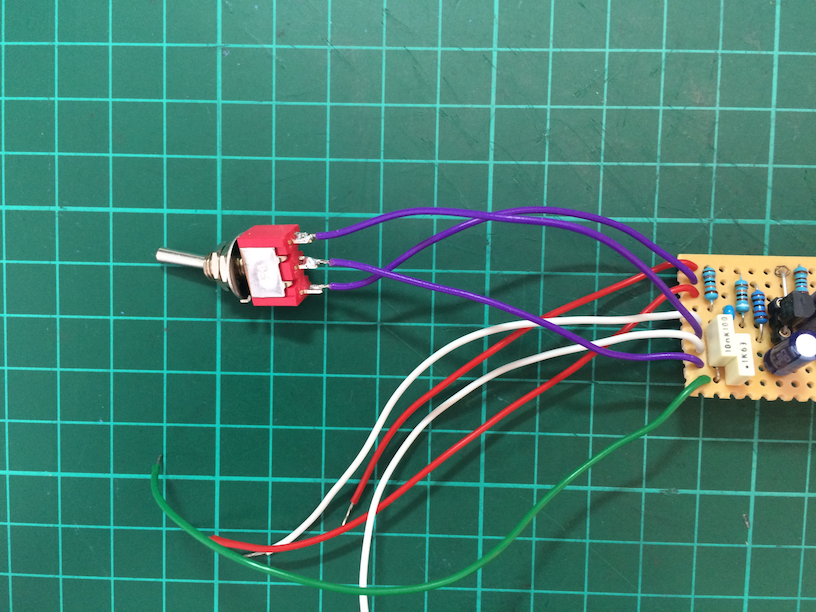
So, I’ll solder this on to the three purple wires like so:
That’s enough for now. I’m going outside to look at that big orange glowing ball in the sky…